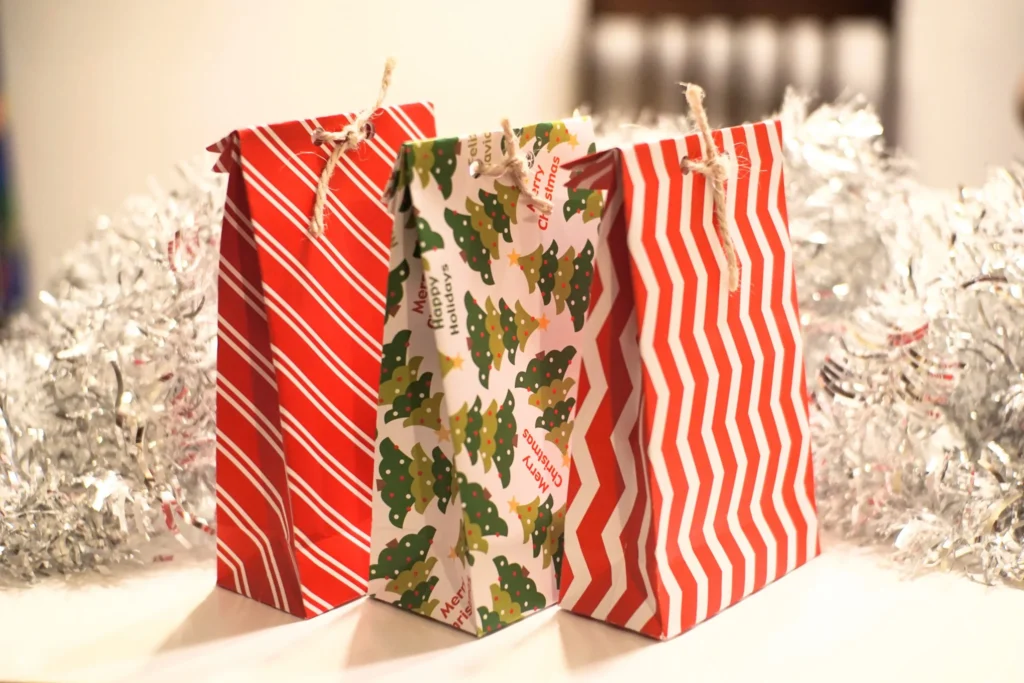
Turning wrapping paper into a bag is not only an eco-friendly solution but also a creative way to present gifts. This guide will walk you through the simple steps to make a stylish bag out of wrapping paper.
1. Choosing the Right Wrapping Paper
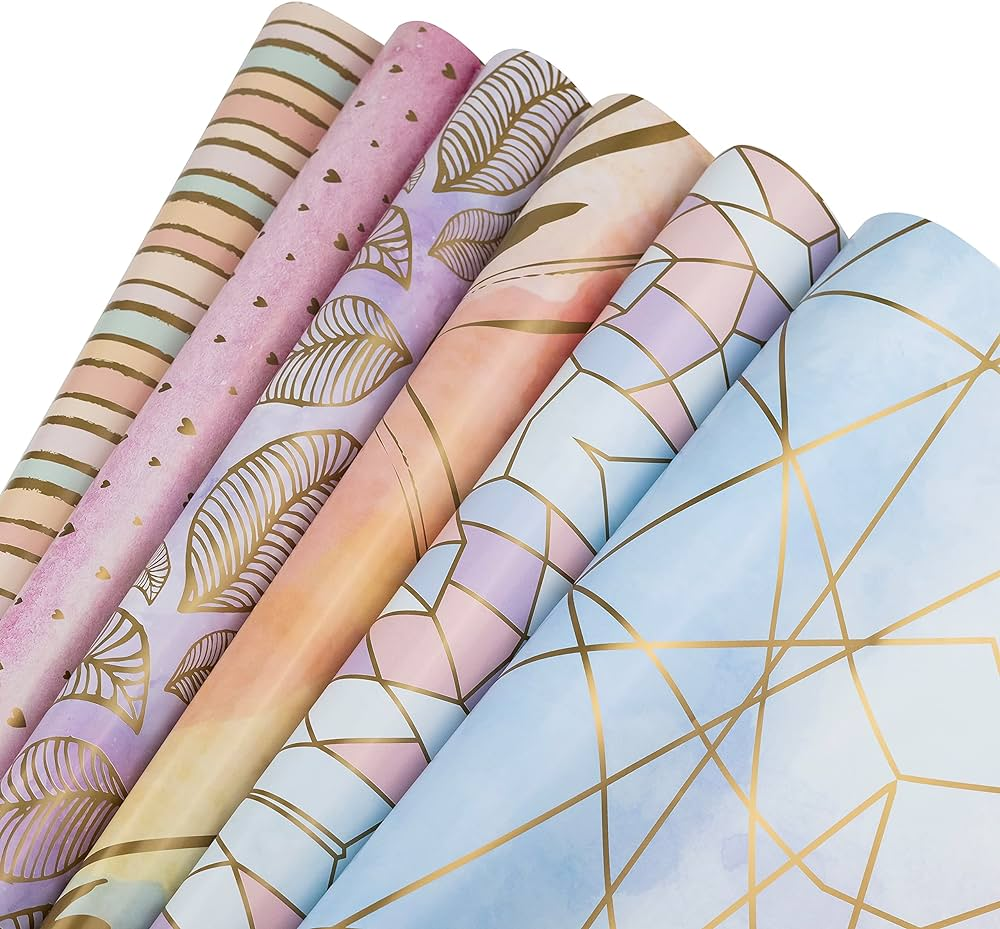
When embarking on the creative journey of transforming wrapping paper into an exquisite bag, selecting the right paper is paramount. The choice of wrapping paper not only influences the aesthetic appeal of the bag but also its durability and functionality. Here, we delve into the essential considerations to guide you in choosing the perfect wrapping paper for your DIY bag project.
Material and Durability
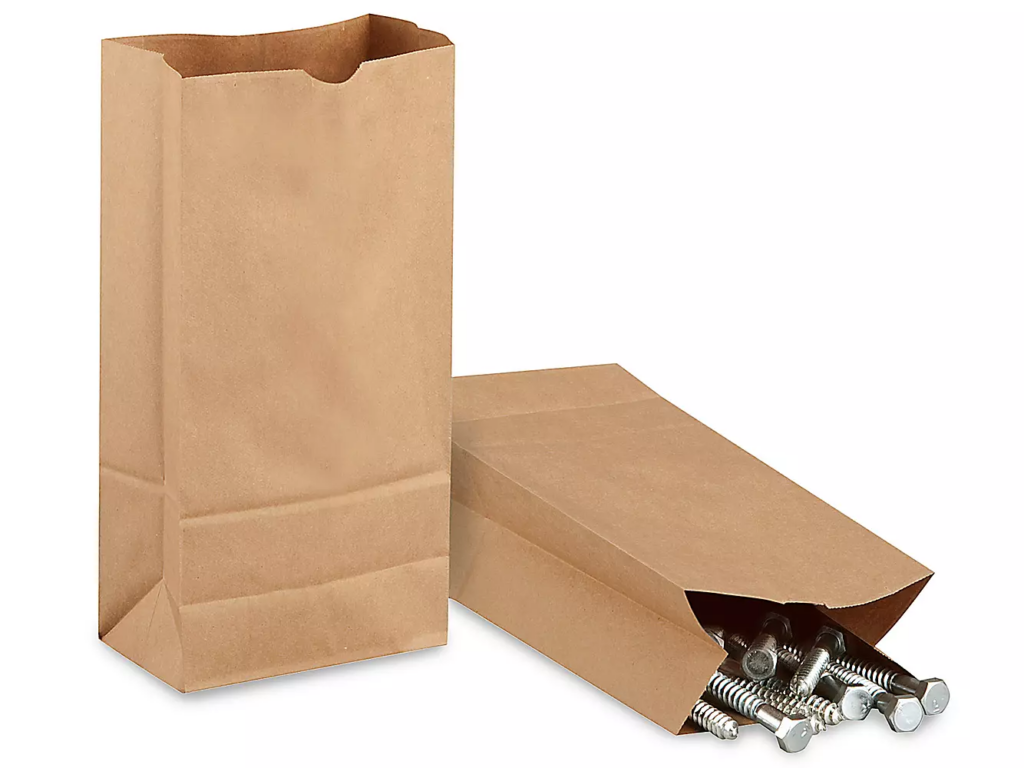
Wrapping papers come in a variety of materials, each offering a different level of durability and texture. For a bag that not only looks charming but can also hold gifts without tearing, opt for thicker, high-quality paper. Look for heavyweight, glossy, or laminated wrapping papers as they tend to be more robust. These materials are less prone to ripping and can withstand the weight of the contents, ensuring your bag remains intact.
Design and Pattern
The visual aspect of your wrapping paper plays a significant role in the overall appearance of the finished bag. Consider the occasion and the recipient when selecting a design. For a more versatile bag, neutral patterns or solid colors offer elegance and are suitable for various events. However, if you’re crafting a bag for a specific celebration, such as a birthday or holiday, choosing a theme-appropriate pattern can add a thoughtful touch. Remember, intricate designs may require more precise folds, so consider your skill level as well.
Size Matters
The dimensions of the wrapping paper are crucial to the size of the bag you intend to create. Larger pieces of wrapping paper are perfect for bigger bags, while smaller sheets can be used for petite, delicate gifts. It’s essential to have a rough estimate of the bag’s desired size before purchasing your paper. This foresight prevents wastage and ensures you have enough material to work with, especially if your design involves intricate folds or multiple layers.
Eco-Friendliness
In today’s environmentally conscious world, choosing eco-friendly wrapping paper is more important than ever. Many wrapping papers are recyclable, but some are not due to the presence of metallic fibers, glitter, or plastic lamination. If sustainability is a priority for you, look for papers made from recycled materials or those that are easily recyclable. Not only will your bag be a testament to your creativity, but it will also reflect your commitment to the environment.
In conclusion, selecting the right wrapping paper for your DIY bag project is a blend of art and science. It requires a balance between aesthetic appeal, functionality, and environmental responsibility. By considering the material and durability, design and pattern, size, and eco-friendliness of the wrapping paper, you can ensure that your handmade bags are not only beautiful but also practical and kind to the planet. Embark on this creative venture with these tips in mind, and watch your wrapping paper bags become a topic of admiration and appreciation.
2. Step-by-Step Folding and Gluing
Once you’ve selected the perfect wrapping paper for your DIY bag, the next step is to transform this flat sheet into a three-dimensional, functional piece. This stage involves precise folding and secure gluing, turning your wrapping paper into a sturdy and stylish bag. Follow this detailed, step-by-step guide to ensure your creation is both beautiful and durable.
Preparing the Paper
Begin by laying your chosen wrapping paper face down on a clean, flat surface. Ensure the paper is smooth and free of wrinkles for a neat finish. Depending on the desired size of your bag, you may need to trim the paper to suitable dimensions. A general rule of thumb is to have the width of the bag be at least twice as long as the base.
Creating the Base
To form the base of the bag, fold up one edge of the paper approximately two inches. This fold will become the bottom of your bag. Secure this fold with a strip of double-sided tape or glue, ensuring it aligns evenly for stability.

Folding the Sides
Next, fold the paper inwards from both sides to meet at the center. The overlap should be around an inch wide. This step creates the sides of your bag. Use double-sided tape or glue along the inside of one edge to join the sides together securely. Press firmly to ensure the adhesive bonds well.
Creating Pleats for Expansion
For your bag to open and hold items, you’ll need to create pleats. Carefully fold the corners of the bag towards its base, creating triangular shapes on each side. These pleats should be folded inward and secured with a small piece of tape. This allows the bag to expand and accommodate objects.
Reinforcing the Base
To ensure the base of your bag is sturdy enough to hold items, reinforce it with an additional piece of cardboard cut to the size of the bag’s base. Place this piece inside the bag at the bottom. For a cohesive look, you can cover the cardboard with a piece of wrapping paper.
Adding Handles
For a functional touch, add handles to your bag. You can use ribbon, twine, or strips of a contrasting wrapping paper. Punch holes at the top edge of the bag on both sides, ensuring they’re evenly spaced. Thread your chosen material through these holes, knotting the ends on the inside to secure them in place.
In conclusion, following these folding and gluing steps will transform a simple sheet of wrapping paper into a stunning, handmade bag. This process not only recycles wrapping paper but also gives it a new, functional purpose. With a bit of patience and creativity, you can create eco-friendly, personalized bags that add a special touch to any gift.
3. Adding Finishing Touches
The creation of your wrapping paper bag doesn’t end with the folding and gluing; adding finishing touches is where your creativity truly shines, transforming a simple paper bag into a masterpiece. This section delves into the various ways you can embellish and strengthen your bag, ensuring it’s not only aesthetically pleasing but also functional and durable. By integrating these final details, your wrapping paper bag will stand out, adding a personal and eco-friendly touch to your gift-giving.
Enhancing Aesthetic Appeal
Decorative elements can elevate the look of your wrapping paper bag, making it look more sophisticated and bespoke. Consider using stamps, stickers, or hand-drawn designs to add a unique flair. If you’re feeling particularly crafty, you can incorporate elements like dried flowers, lace, or fabric scraps. These additions not only beautify your bag but also give it a personal touch that recipients will appreciate.
For a cohesive look, ensure that the decorative elements align with the theme or color scheme of the wrapping paper. This attention to detail makes your bag appear professionally crafted and adds to the overall presentation of your gift.
Reinforcing Structure and Durability
While wrapping paper bags are inherently less durable than fabric or plastic alternatives, there are ways to reinforce their structure. Adding a layer of clear adhesive tape over the seams and base can significantly increase their strength. For the base, consider double-layering the wrapping paper or inserting a piece of cardboard as additional support. This reinforcement allows the bag to carry heavier items without the risk of tearing.
Another method to enhance durability is by laminating the paper bag. A thin layer of clear adhesive laminate can protect the bag from moisture and wear, extending its lifespan. This step is particularly recommended if you plan to reuse the bag or if it will be used to carry items that might pose a risk of staining or water damage.
Functional Additions
Beyond aesthetics, functional touches can significantly improve the usability and appeal of your wrapping paper bag. Consider adding a closure mechanism such as Velcro dots, buttons, or a ribbon tie to keep the contents secure. For bags intended to carry heavier items, reinforcing the handle area with extra layers of paper or tape can prevent tearing.
Customizable tags or labels are not only practical for identifying the recipient but also offer another opportunity for creativity. These can be made from leftover wrapping paper or contrasting materials to stand out. Writing a personal message or the recipient’s name adds a thoughtful touch that enhances the gift-giving experience.
In conclusion, the addition of finishing touches to your wrapping paper bag is an essential step in creating a functional, durable, and aesthetically pleasing gift bag. From decorative embellishments to structural reinforcements and functional features, these final details are what set your creation apart. With a bit of imagination and effort, you can produce eco-friendly, personalized bags that impress your loved ones and elevate your gift-giving to new heights.
Please register as a member at here to comment & contribute content.