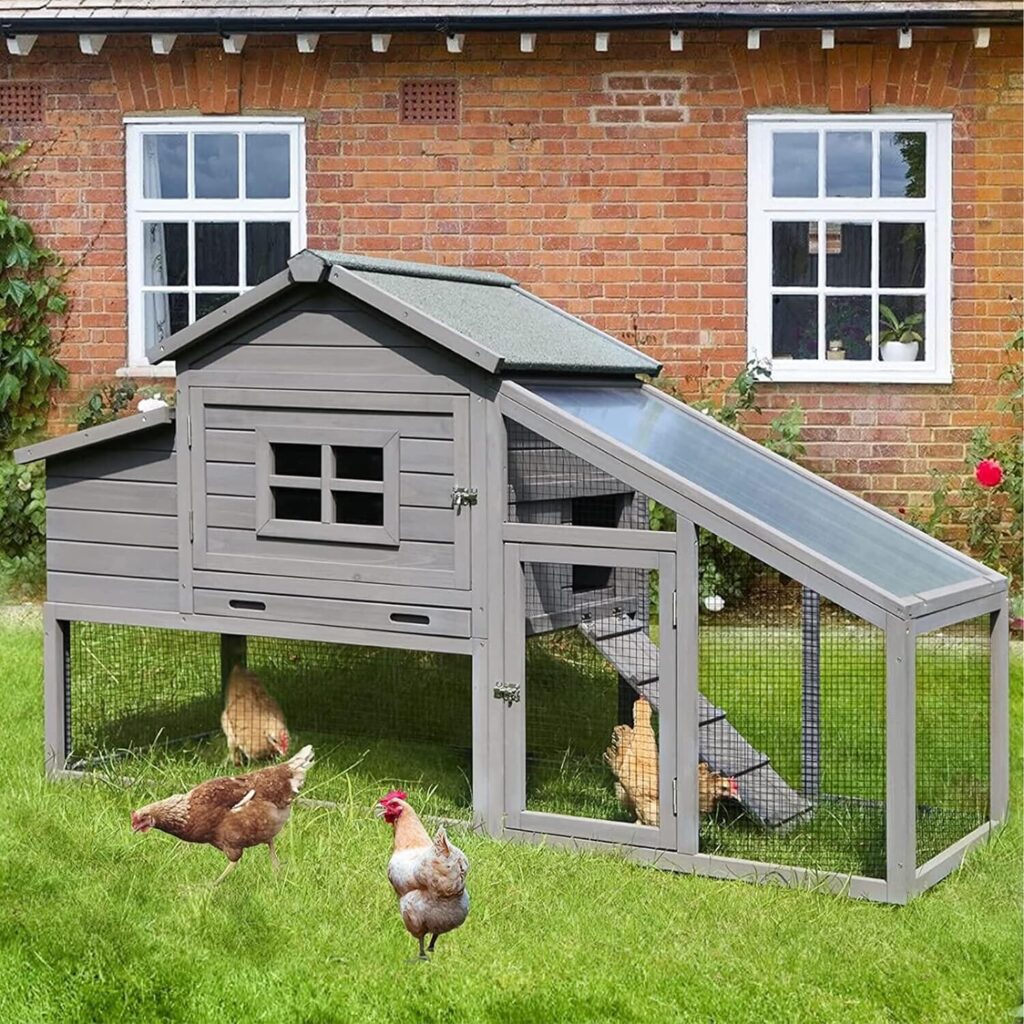
Raising chickens in your backyard can be a fulfilling experience, providing you with fresh eggs and companionship. However, a crucial part of this journey is providing a safe and comfortable home for your feathered friends. This guide will walk you through the essentials of how to make a chicken coop, ensuring your chickens are happy and healthy.
1. Planning Your Chicken Coop: Size, Location, and Design
Embarking on the journey to construct a chicken coop requires thoughtful planning and consideration of several critical factors. This section delves into the essential aspects of size, location, and design to ensure your chicken coop not only meets the needs of your chickens but also complements your lifestyle and backyard space. Understanding how to make a chicken coop starts with these foundational decisions.
Size: Catering to Your Flock’s Needs
The size of your chicken coop is pivotal. A common guideline is to allocate about 2-3 square feet per chicken inside the coop and approximately 8-10 square feet per chicken in an outside run. However, these numbers can vary depending on the breed and size of your chickens. Larger breeds, such as Jersey Giants, will require more space than smaller bantams. Planning for future flock expansion is also wise, providing room to grow without the need for immediate upgrades.
Location: Safety and Accessibility
Choosing the right location for your chicken coop is about balancing the needs of your chickens with the practicalities of daily maintenance. Look for a spot that offers protection from predators and extreme weather conditions. Ideally, the location should be elevated to prevent flooding and provide good drainage. Accessibility is crucial for cleaning, feeding, and egg collection. Ensure the coop is conveniently placed to encourage regular visits and care, which are essential for the health and happiness of your flock.
Design: Comfort Meets Functionality
The design of your chicken coop should cater to the well-being of your chickens while being functional for you. Ventilation is critical to prevent moisture buildup and maintain a healthy living environment. Include windows or vents that can be adjusted according to the weather. Insulation might be necessary depending on your climate to keep your chickens warm in winter and cool in summer. Consider the coop’s orientation for optimal sunlight exposure and protection against prevailing winds. Additionally, think about nesting boxes (one per 4-5 hens is a good rule of thumb) and perching areas, ensuring they are placed in a manner that promotes a peaceful and clean habitat.
Remember, the planning phase is your opportunity to address potential challenges and design a coop that’s easy to maintain. This includes considering materials that are durable and easy to clean, access points for cleaning out bedding, and protective measures such as hardware cloth to keep out predators. By taking the time to plan your chicken coop’s size, location, and design meticulously, you’re laying the groundwork for a functional, safe, and inviting home for your chickens.
In summary, how to make a chicken coop begins with careful planning. By considering the size, location, and design of your coop, you can create a space that supports the health and happiness of your chickens while providing convenience and aesthetic appeal to your backyard. The right planning and effort will lead to a successful chicken coop project, enhancing your backyard poultry experience.
2. Gathering Materials and Tools for Construction
Once you’ve meticulously planned the size, location, and design of your chicken coop, the next critical step is gathering all necessary materials and tools for the construction process. This phase is where your vision starts to take physical shape, and therefore, requires careful consideration to ensure you have everything you need before the building begins. This guide aims to provide you with a comprehensive checklist of materials and tools, integrating the keyword how to make a chicken coop into practical steps towards achieving your goal.
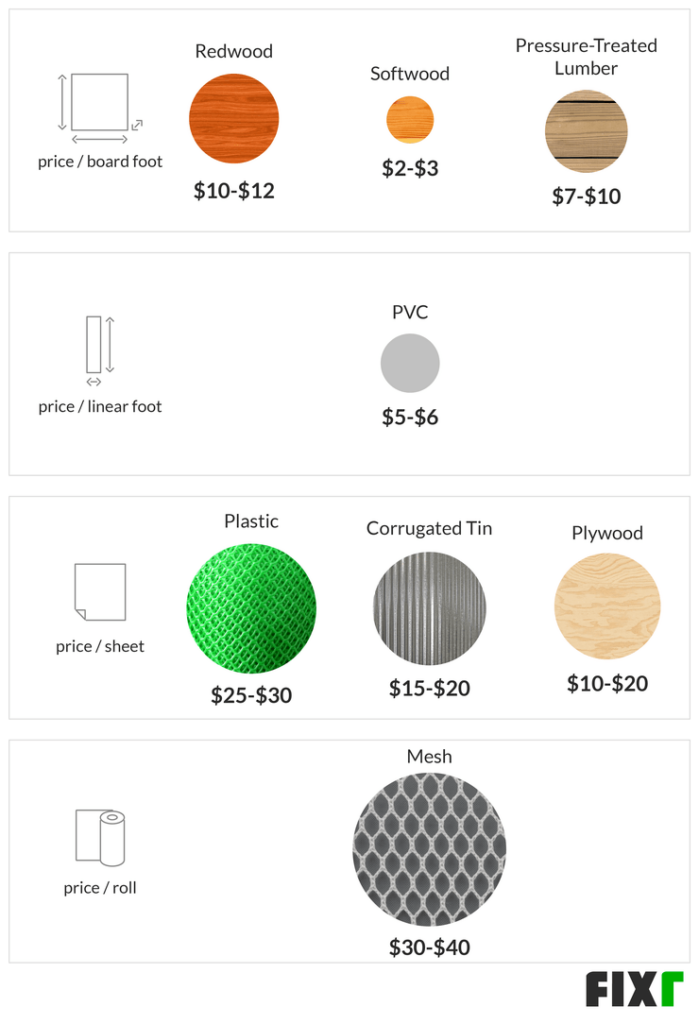
Essential Materials for Your Chicken Coop
The materials you choose can significantly impact the durability, functionality, and overall comfort of your chicken coop. Here is a list of essential materials you will need:
- Lumber: The backbone of your coop’s structure. Opt for treated wood for enhanced durability, especially in areas prone to moisture.
- Hardware Cloth: A must-have for protecting your chickens from predators. Ensure it’s fine enough to keep out smaller pests as well.
- Roofing Material: Consider weather conditions in your area when selecting roofing materials. Metal roofing can be a durable and effective option.
- Insulation: Necessary if you live in an area with cold winters. Proper insulation can keep your chickens warm and reduce heating costs.
- Nesting Boxes: You can build these from leftover materials. Ensure you have at least one box for every 4-5 hens.
- Perches: Chickens need a place to roost. Use sturdy branches or lumber to create comfortable perching spots.
- Paint: Use non-toxic paint to protect the wood and add a personal touch to your coop’s appearance.
Tools Required for Coop Construction
Having the right tools at your disposal can make the construction process smoother and faster. Here’s a list of essential tools:
- Tape Measure: Precision is key in construction. A reliable tape measure is indispensable.
- Circular Saw: For cutting lumber to the exact dimensions required.
- Power Drill: A versatile tool for drilling holes and securing screws.
- Hammer: Necessary for nailing parts of the coop together.
- Level: Ensures your coop’s foundation and frame are perfectly level.
- Staple Gun: Ideal for attaching hardware cloth securely.
- Safety Equipment: Don’t forget safety glasses, gloves, and hearing protection to safeguard against accidents.
Collecting all materials and tools before starting your project can save you time and frustration. It allows for a smoother building process, where you can focus on the task at hand without frequent trips to the hardware store. Remember, the quality of materials and tools can significantly affect the outcome of your project. Investing in good quality items from the start can enhance the durability and functionality of your chicken coop, ensuring your chickens have a safe, comfortable home for years to come.
In conclusion, knowing how to make a chicken coop involves careful planning not only in design but also in gathering the right materials and tools. By following this guide, you’re one step closer to providing a safe and welcoming environment for your backyard chickens.
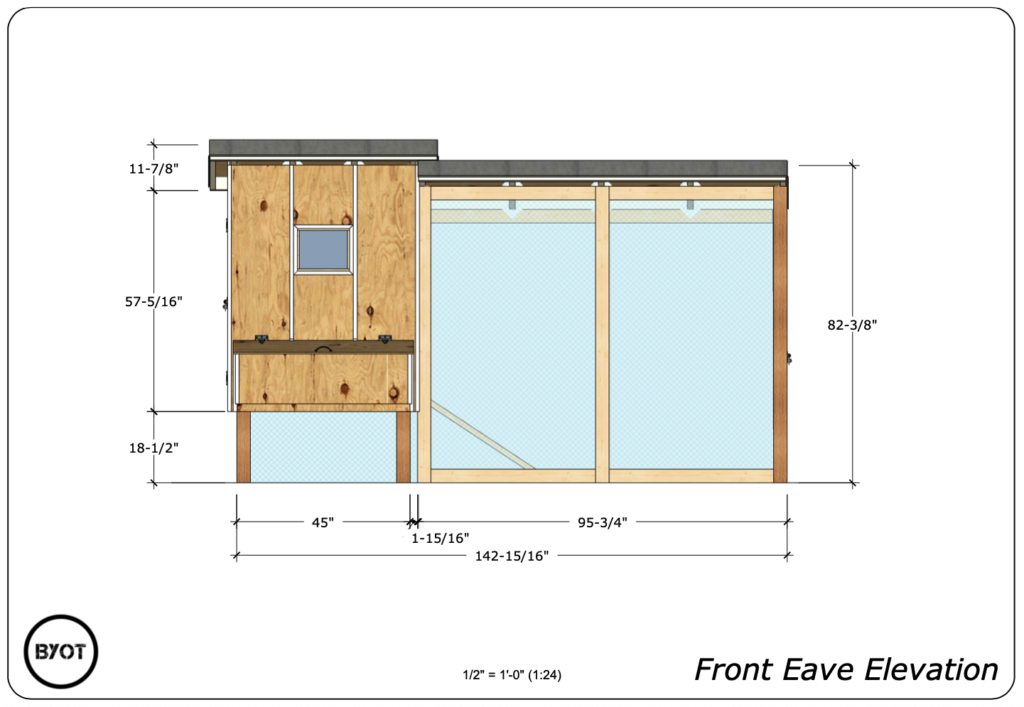
3. Step-by-Step Construction: From Foundation to Roof
Embarking on the construction of your chicken coop is an exciting phase where your planning and preparation come to life. This comprehensive guide will walk you through the step-by-step process of building a chicken coop from the ground up. By integrating the keyword how to make a chicken coop, we aim to cover all aspects of the construction process, ensuring you create a sturdy, comfortable home for your chickens.
Foundation and Frame
The foundation is the cornerstone of any structure, including your chicken coop. Start by choosing a level spot in your chosen location. If necessary, level the ground to prevent water from pooling under the coop. For the foundation, you can use concrete blocks or treated lumber, which provide stability and keep the wood frame off the ground, protecting it from moisture and pests.
Once the foundation is set, begin constructing the frame. Use durable, treated lumber to create a skeleton for your coop. This includes vertical support beams, the base frame, and the roof structure. Ensuring that your frame is square and level is crucial for the overall stability of the coop. Use a carpenter’s level and square to check your work as you go.
Walls and Insulation
With the frame in place, the next step is to add the walls. Plywood or oriented strand board (OSB) are popular choices for the exterior walls due to their durability and ease of installation. Cut the panels to size and secure them to the frame using screws or nails. Remember to cut out openings for doors, windows, and ventilation before attaching the panels.
In colder climates, insulation is key to keeping your chickens warm during the winter months. Install insulation between the wall panels and the exterior siding. Ensure that any insulation material used is covered to prevent your chickens from pecking at it.
Roofing
The roof is your coop’s first line of defense against the elements. A sloped roof design ensures rain and snow can easily run off, preventing moisture accumulation that can lead to rot and mold. Metal roofing sheets are a popular choice due to their longevity and ease of installation. Secure the roofing material to the frame, ensuring there are no gaps or holes where water could enter.
Doors, Windows, and Ventilation
Doors are essential for both human and chicken access. Construct a larger door for cleaning and maintenance and a smaller, chicken-sized door. Windows provide natural light and can be opened for additional ventilation. However, they should be secured with hardware cloth to prevent predators from gaining access.
Proper ventilation is crucial to prevent the buildup of ammonia and to keep the air fresh inside the coop. Install vents or openings near the roof, where hot air can escape, and ensure they are predator-proof as well.
Finishing Touches
Finally, add the finishing touches to your coop. Install perches, nesting boxes, and feeders. Paint the exterior with non-toxic paint to protect the wood and add a personal touch to your coop’s appearance. Lastly, secure the perimeter with hardware cloth or chicken wire to protect your flock from predators.
In summary, building a chicken coop involves careful attention to detail at every step, from laying a solid foundation to ensuring the safety and comfort of your feathered friends with a secure, well-ventilated structure. By following this step-by-step guide and incorporating the keyword how to make a chicken coop, you’re well on your way to creating a functional and inviting home for your chickens.
4. Adding the Finishing Touches: Security, Comfort, and Maintenance
Once the foundational structure of your chicken coop is in place, it’s time to focus on the aspects that will make it not just a shelter, but a comfortable home for your chickens. This section will delve into the essential finishing touches, focusing on security, comfort, and maintenance. These elements are crucial in ensuring that your chickens are safe, happy, and healthy in their new environment. How to make a chicken coop truly functional and sustainable involves paying attention to these details.
Security Measures
The safety of your chickens should be a paramount concern. Predators such as foxes, raccoons, and even neighborhood cats can pose a significant threat to your flock. To fortify your coop, start by installing hardware cloth instead of chicken wire. Hardware cloth is more durable and offers better protection against predators. Burying the cloth at least 12 inches into the ground around the coop can prevent digging predators from gaining access. Additionally, secure locks on doors and nesting boxes will keep out curious intruders and provide an extra layer of security.
Comfort Enhancements
For your chickens to thrive, their living environment needs to be comfortable. This means ensuring adequate ventilation to prevent ammonia build-up and maintain a fresh air supply. Adjustable windows or vents can help regulate temperature and airflow, making the coop habitable in varying weather conditions. Inside the coop, consider the layout of perches and nesting boxes. Perches should be positioned away from drafts, while nesting boxes need to be accessible yet private, encouraging egg-laying. Soft bedding, such as straw or wood shavings, should be laid out to provide cushioning and absorb moisture.
Maintenance Ease
A coop that’s easy to maintain ensures a healthy environment for your chickens and simplifies your chores. Design your coop with removable trays for easy cleaning and waste disposal. Ensure that all areas of the coop are easily accessible for periodic deep cleans. Using materials that are resistant to rot and pests can also reduce the need for frequent repairs. Consider implementing a rotational grazing system if your space allows, moving the coop periodically to fresh ground. This practice not only reduces the build-up of parasites and disease but also provides your chickens with fresh foraging opportunities.
In summary, the finishing touches on your chicken coop are what transform it from a mere structure to a safe, comfortable home for your chickens. By prioritizing security, comfort, and maintenance, you can create a coop that not only meets the basic needs of your chickens but also makes your life easier. With these considerations in mind, you’re well-equipped to complete your chicken coop project, ensuring it’s a place where your chickens can thrive. Embrace these final steps in your how to make a chicken coop journey, and enjoy the rewards of a well-planned, lovingly constructed chicken habitat.
Please register as a member at here to comment & contribute content.